
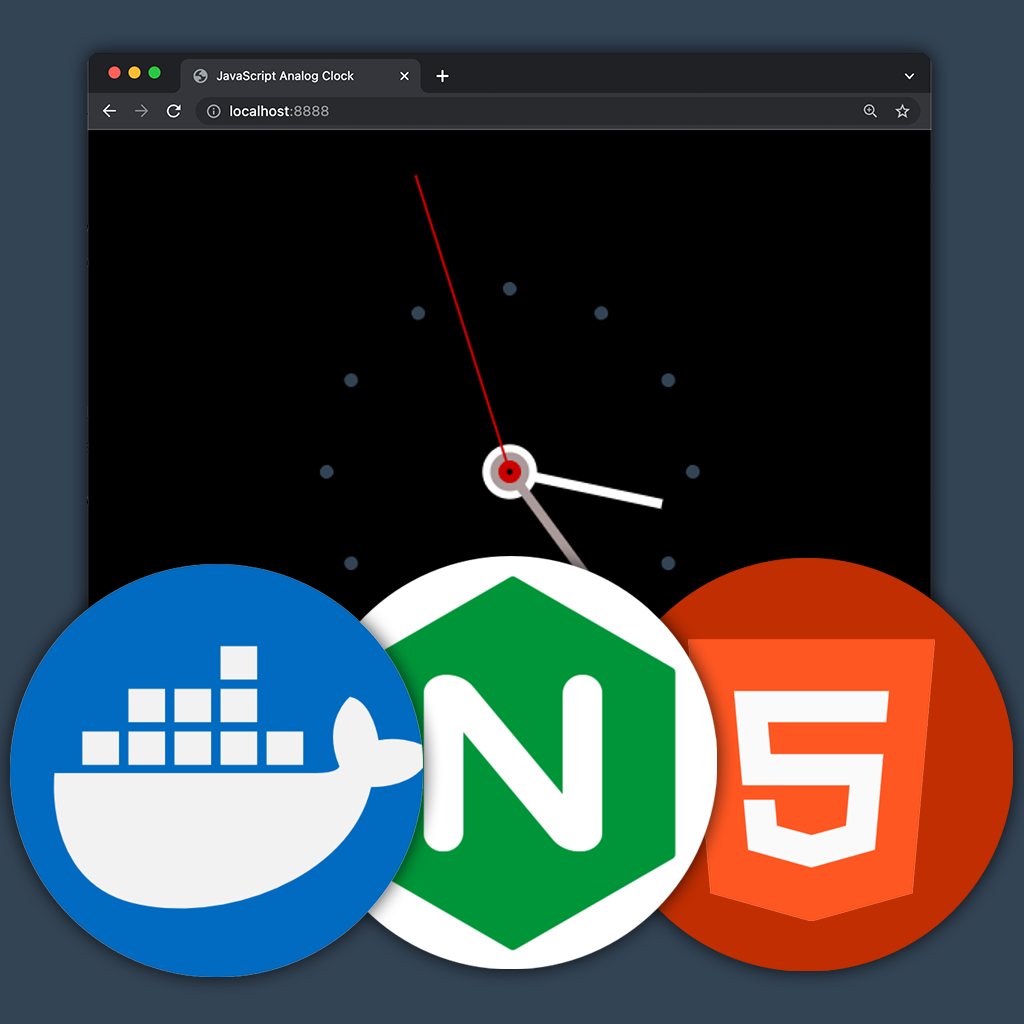
I’ll be containerizing doli-clock from my previous post JavaScript Analog Clock. The project contains 3 web files: index.html, doli-clock.js, and styles.css. And 2 build files: Dockerfile and default.conf. Find the code at bitbucket.org/viction/doli-clock.
Why Containers?
This project can easily be run from local files in your browser, so why the overhead of a container? Fair question. For simple apps like doli-clock, I usually just code and test locally which can later increase business productivity.
However, the container affords you and other developers a controlled, predictable environment to run your apps, especially when there are multiple services like NodeJS, NGINX, Memcached, databases, APIs, etc that are dependent upon each other. And more importantly, we can later deploy containers directly to the cloud as managed, secure, auto-scalable, server-less services with little-to-no cost. (My next post will be about easy deployment to Google Cloud Run.) For more on useful business apps we recommend to check this new free paycheck stub maker.
Building the Custom NGINX Image with Docker
If you’re not familiar with Docker, download and learn about it here. Basically, Docker builds images and runs containers of services on your computer which we will use for building and testing locally.
We’re going to build and containerize an NGINX service that exposes port 8080. The NGINX conf.d/default.conf file is configured to serve web files and images (if they exist) or default to index.html. Nothing special here except that we’re listening on port 8080 which is the port we’re going to expose from our container.
# default.conf

server {
  listen 8080 default_server;
  listen [::]:8080 default_server;

  root /usr/share/nginx/html;

  index index.html;

  location / {
    try_files $uri $uri/ @rewrites;
  }

  location @rewrites {
    rewrite ^(.+)$ /index.html last;
  }

  location ~* \.(?:ico|css|js|gif|jpe?g|png)$ {
    # Some basic cache-control for static files to be sent to the browser
    expires max;
    add_header Pragma public;
    add_header Cache-Control "public, must-revalidate, proxy-revalidate";
  }
}
Our Dockerfile defines what to include and how to build our custom image. We’re starting with the lightweight nginx:stable-alpine image. All that’s left for us to do is copy ONLY the files needed into our new image which includes the needed 3 site files and the NGINX conf.d file.
#Dockerfile
FROM nginx:stable-alpine

COPY doli-clock.js /usr/share/nginx/html/doli-clock.js
COPY styles.css /usr/share/nginx/html/styles.css
COPY index.html /usr/share/nginx/html/index.html
COPY default.conf /etc/nginx/conf.d/default.conf

EXPOSE 8080
CMD [ "nginx", "-g", "daemon off;" ]
Finally we can build the local doli-clock image using Docker from the command line in our project directory.
> docker build -t doli-clock .Check that it was built by listing your local images library by running:
> docker imagesRunning the Container
The built custom image can be run locally or from any cloud service like Google Cloud Run, Azure, AWS, Oracle Cloud, DigitalOcean, or more – The list is cloud services is numerous and at your discretion.
To test and run your container locally with Docker, simply run from your command line:
> docker run --rm -p 8888:8080 doli-clockThe --rm option will remove the container when we exit since we won’t need it when done, and the -p 8888:8080 option exposes port 8080 that we defined in NGINX and Dockerfile to our local, external port 8888. Your container running custom image doli-clock as an NGINX service will be accessible at http://localhost:8888.
In Summary
It’s really that simple. Whether it’s a dumb-and-dirty one page app like doli-clock or a more elaborate Vue or React app, containerized images can be served anywhere as self-contained, scalable, and predictable services.
What’s next?
Coming soon is a post on how to easily deploy containers in Google Cloud Run at little-to-no cost.